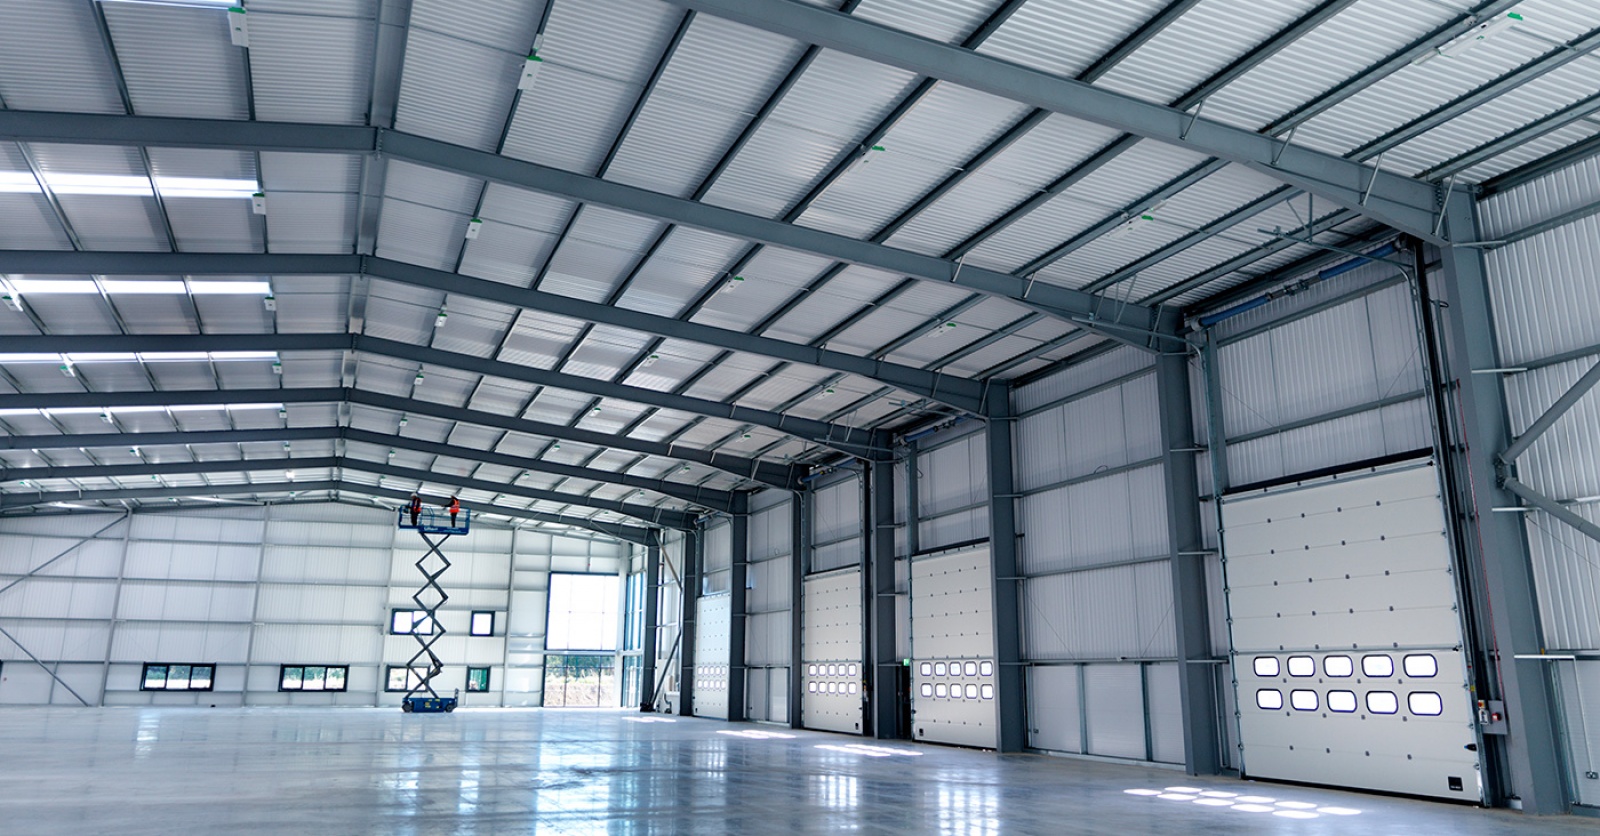

Good foundations are important for any business, and in our sector, we mean that literally. With our warehouses taking up thousands of feet in space, one of the most crucial yet often overlooked components might surprise you. That’s right, it’s time to talk about flooring.
Potter Space Droitwich has two new units, 103 and 104, that recently received their concrete flooring. We decided it’s time to showcase the time and effort that goes into this stage of the process and tell you a little more about what goes into the perfect pour. The answers might surprise you...
The pour in numbers |
|
We teamed up with one of our trusted suppliers, Level Best Concrete Flooring Contractors, to ensure the pour at Droitwich went off without a hitch. Close collaboration, coordination and concrete curing saw us go from bare earth to pristine concrete floor.
Getting the perfect pour – not just for mixologists
Pouring concrete is a technical process that needs precision, teamwork and some heavy-duty machinery. But what are the steps that make it all come together?
Step 1: Sub-base levelling
Before the word concrete can even be mentioned on site, the sub-base surface has to be prepared at our Droitwich site. This involves the coordination of approximately 470 tonnes of recycled ‘Type 1’ stone. The stone is delivered in 8 wheeled tipper lorries, each vehicle containing approximately 20 tonnes of stone.
This is where things get exciting, with heavy machinery such as excavators and wheeled dumpers, the stone is distributed and placed accordingly, the stone is rolled and compacted with a heavy-duty ride on roller. The levels are continually checked with a rotating laser and receiver, with all final checks performed by a competent Potter Space Site Engineer.
 Image 1: Entrance to our Droitwich site Image 1: Entrance to our Droitwich site |
Image 2: Welding underway |
Step 2: Welding to the sub-base
Following on from levelling the stone, things become even more technical. Plates are welded to the perimeter of the previously erected steel frame columns. These provide isolation between the concrete slab and the steel frame, allowing movement in both a horizontal and vertical direction, thus minimizing cracking to the new slab.
Step 3: Installing steel Armour joints
This step relies on accurate measurements as the locations of each joint are marked out and a single layer of polythene is rolled out on the area. The steel joint is then then fixed in place and checked with a laser transmitter to ensure the perfect level.
The joint acts as a permanent formwork, creating a secure boundary or day joint during the concrete pour. They allow the concrete slab to contract in a controlled way, to prevent cracks occurring. They protect construction joint arises from impact damage once the building is in use, saving the expense of repair.
| Image 3: Polythene layer rolled out across the area |
Image 4: Fixings around the steel to prevent cracking through movement |
Step 4: Laying the polythene membrane
This final stage is all about precision. It involves rolling out the polythene membrane to cover the whole floor in the same order as the areas being poured first, before it is cut to size – ready for the final stage.
The polythene membrane is bonded to the damp proof course (DPC) previously built into the perimeter walls. All vertical and horizontal joints are overlapped and bonded to each other, forming a continuous and impenetrable layer.
| Image 5: Cement mixer arriving at Droitwich |
Image 6: Starting the pour |
Step 5: Get pouring!
After all the careful preparatory work, the sub-floor is complete. That means it’s time to pour! Once the floor is filled and levelled off, it’s left to dry and cure over 14 days, creating a durable and futureproofed floor that will last for decades to come.
After all the careful preparatory work, the sub-floor is complete. That means it’s time to pour! The concrete is placed using a laser screed for concrete. The self-propelled machine features a telescopic boom and placement head used for quickly and efficiently leveling and vibrating the concrete during pouring. The head of the laser screed is made up of three parts, which evenly push out the concrete and sweeps away excess pour.
View our video of the entire pour here - https://youtu.be/S_T3mmsJ_tQ
| Image 7: Leveling the pour |
Image 8: Night shift finishing the floor
|